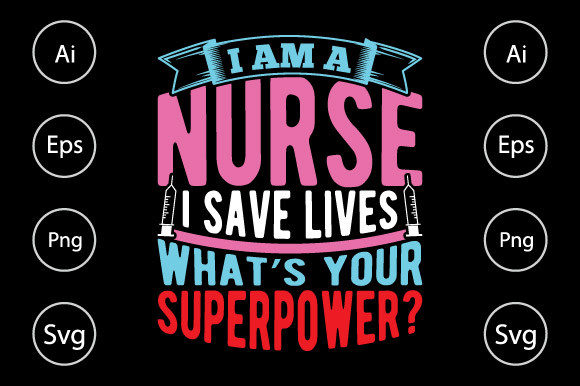
A Designer’s Honest Look at the ‘Superpower Nurse’ Embroidery File
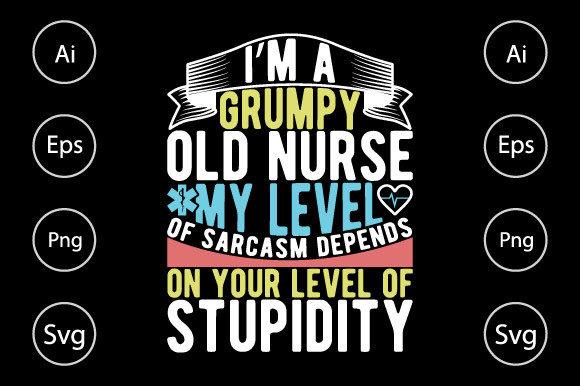
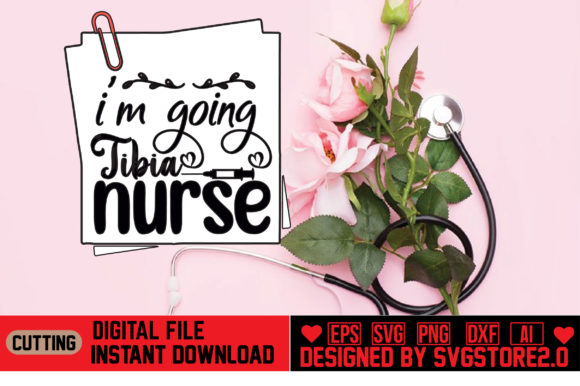
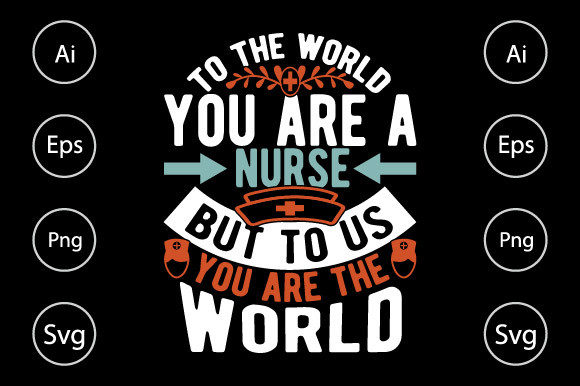
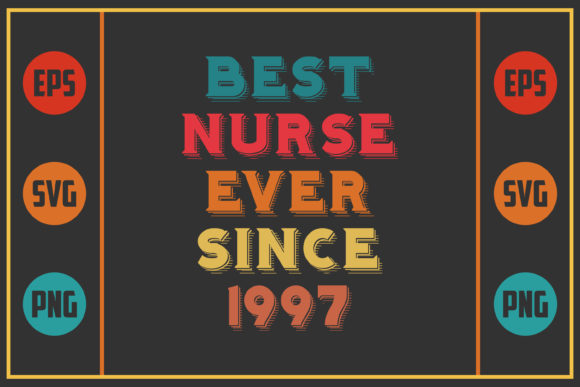
Whenever a new embroidery design lands on my desktop, I’m not just looking at the artwork. I’m thinking about the stitches, the fabric, the final product sitting in a customer’s hands. The Superpower Nurse, Like Nurse, Best Nurse design file arrived with that familiar promise: a clean, modern graphic ready for a craft business or a heartfelt gift. But how does it translate from a digital preview to a real, threaded project? Let’s walk through it.
First Impressions: Where This Design Belongs
The core concept is strong and clear. It’s a celebratory, empowering statement perfect for the nursing community. The layout feels balanced, and the level of detail in the provided files suggests it’s built for scale. My immediate mental image was an embroidered sweatshirt or a tote bag—something with a generous, flat surface area where the message can shine. This isn’t a tiny, intricate motif; it’s a statement piece. The mood is professional yet personal, making it ideal for a customized gift for a nurse graduating, retiring, or simply deserving recognition.
Planning the Real Project: A Practical Scenario
Imagine you’re preparing an order for a client who wants a unique embroidered patch to attach to their work bag. Or perhaps you’re stocking your Etsy shop with a line of apron designs for healthcare professionals. This Superpower Nurse design jumps out as a candidate. The key question becomes: how will those lines and text areas actually stitch out?
Given the file types listed—SVG, PNG, EPS—this design is versatile. The high-resolution PNG is great for printable mockups to list your digital product, while the vector files (EPS, AI) are crucial for clean scaling in embroidery software before generating your stitch file. This flexibility is a significant plus for digital product sellers and apparel decorators.
The Fabric and Hoop Considerations
This design, with its likely use of bold text and clean shapes, would excel on medium-weight fabrics like cotton twill for a tote bag or a sturdy polo shirt. For a baby item or a lightweight tea towel, you’d need to carefully manage stitch density to prevent puckering. On a cap or curved surface, the layout’s width is something to check in your software—the design might need slight adjustment to fit the curved crown without distorting the message.
Always, always test on scrap fabric first. Run a stitch-out on a similar material to your final project. Check the contrast of your chosen thread colors against the background fabric, especially if moving from a light to a dark fabric. Does the text remain crisp? Those small details in the lettering need to be inspected closely in the test stitch.
Where This Design Finds Its Strength
For craft business owners, this graphic fills a specific niche. It’s a personalized product with high giftability. A well-embroidered version on a pillow cover or a kitchen towel for a nurse’s home feels thoughtful and professional. The visual appeal is direct and positive, which builds customer trust—they see a clean, meaningful design that speaks to a recognized profession.
In terms of commercial embroidery, such as producing batches for a small hospital gift shop or a boutique branding collaboration, the design’s straightforward nature aids consistency. Every stitched item should look uniform, and a clear graphic like this supports that.
Points for Extra Care
Be mindful of very small hoop sizes. Trying to cram this entire design into a tiny area could compress the text, making the stitch clarity suffer. On textured fabrics like some sweatshirt materials, a good stabilizer choice is paramount to keep the satin stitches smooth. Also, consider products that need frequent washing, like baby clothes or work aprons. A robust stitch file with proper underlay and density will ensure the design holds up over time, maintaining that handmade presentation value.
The Final Stitch: Designer Notes for Your Workflow
My process with a design like Superpower Nurse, Like Nurse, Best Nurse always involves a few practical steps. After reviewing the digital files, I’d create both a light and dark background mockup to see how it might appeal to different customers. I’d confirm the licensing note—“You can use the design”—for my specific intent, whether for personal gifts or selling finished items. For machine embroidery design conversion, I’d pay close attention to potential dense fill stitch areas to avoid overly thick stitch patches.
Ultimately, this graphic feels like a ready-to-use design asset. Its strength lies in its clear audience and scalable format. For the creative entrepreneur looking to add a meaningful, profession-specific design to their lineup, it offers a solid foundation. Just remember: the magic happens in the translation from screen to stitches. Take the time to test, choose your fabrics wisely, and let that superpower message shine through in every finished product.